A Closer Look at How Trim Pieces are Restored
Today we are looking at an example of an important trim component and how it is handcrafted in-house here at MPI. Trim can include many items such as the decorative rings around the headlights, side moldings, or even door handles. Then there are other less noticeable pieces like plexiglass windscreens and headlight covers that require the same amount of skill to restore and fabricate properly. These pieces are handmade and restored at Motion Products.
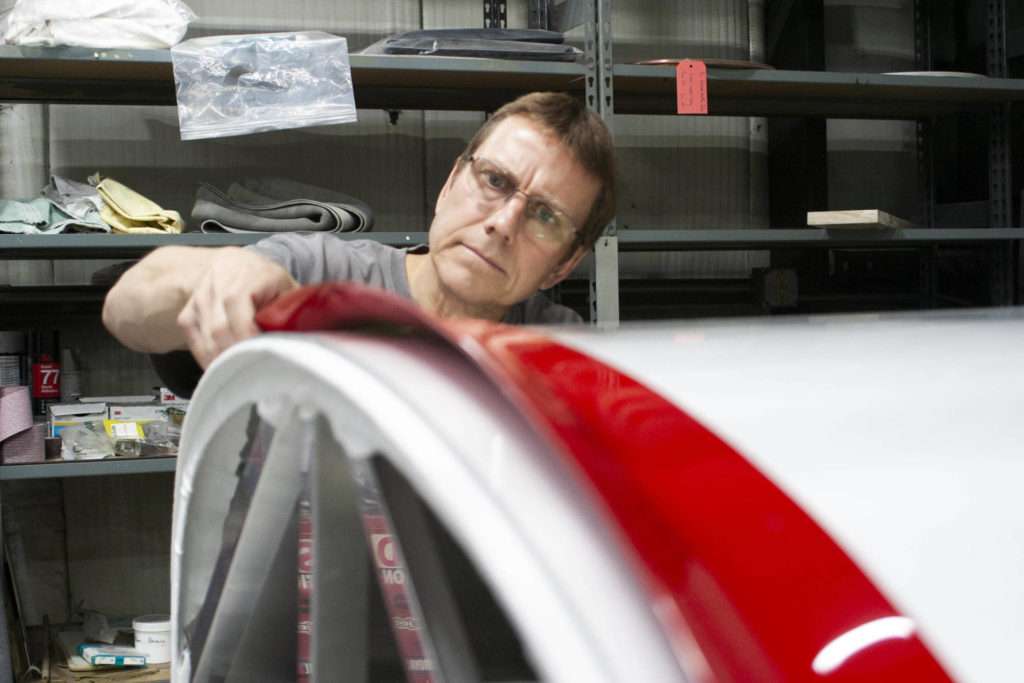
Without trim, windows, and other small pieces, the car would look like a skeleton. Our trim specialist, Dave Jensen, gave us a full explanation on how he restores some of these difficult but very important pieces as part of a restoration. Dave Jensen has been working at Motion Products, Inc. for 23 years, and has spent most of his time in the metal and trim fabrication department, but has also had a hand in almost all the other areas of restoration throughout his time with MPI.
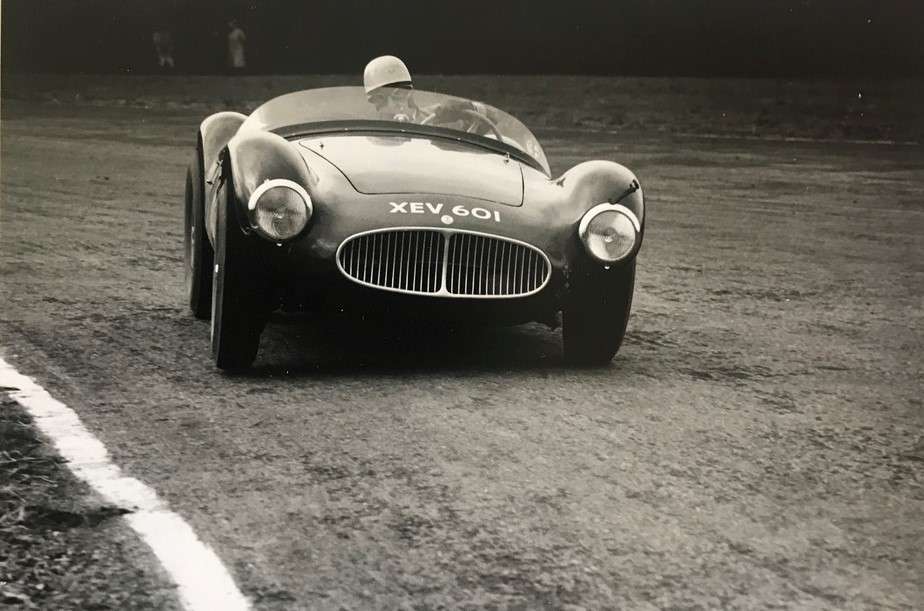
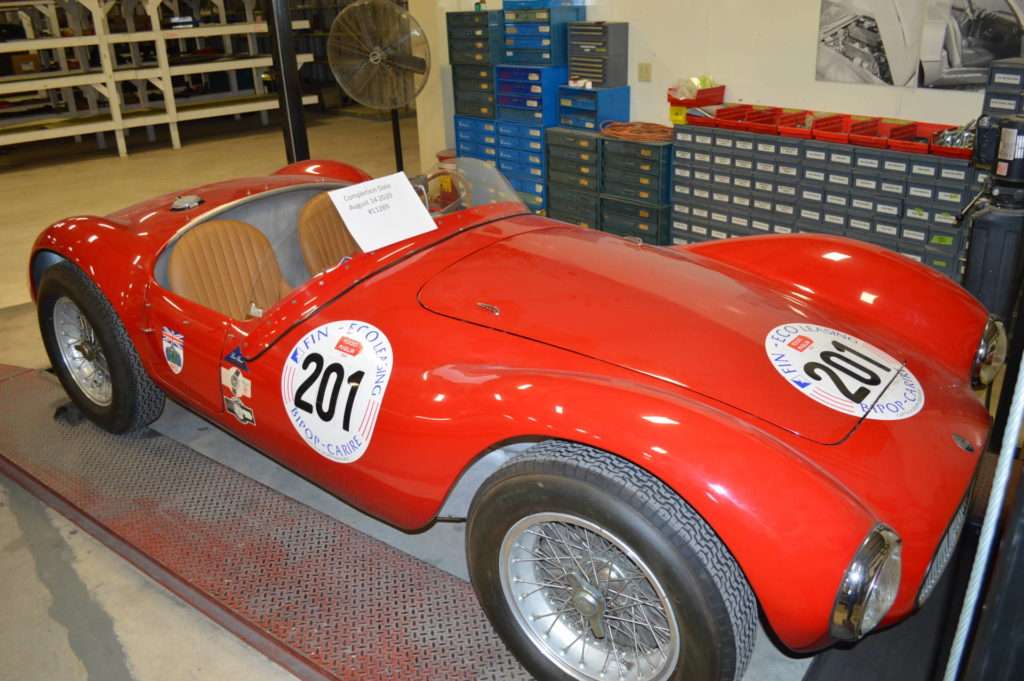
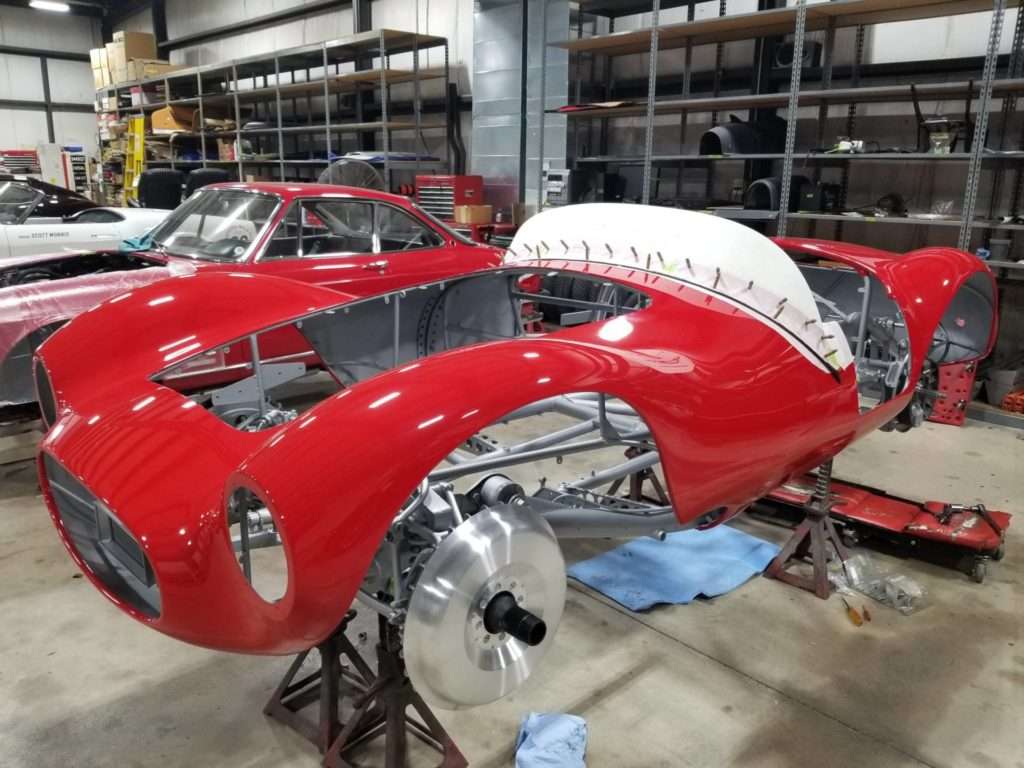
Recently, Jensen made a plexiglass windshield for a 1953 Maserati A6GCS. There are many steps that have to take place before our assembly team can install the final component. Keep reading to find out how Jensen completed this project.
Our team here at MPI first learns what your objectives are for a project, and we research the complete history of the project, then restore it based on an in period appearance of your choosing. With the help of our historians, Jensen compared photographs of the original windscreen to what was on the vehicle at intake. Knowing if adjustments need to be made before restoring any part of the vehicle is key to achieving the most authentic results. As you can see there was a slight dip in the middle of the windscreen at intake (right photo) whereas our client wanted it restored to a full windscreen with a smooth edge like the left photo.
Making a Plexiglass Windshield from Scratch
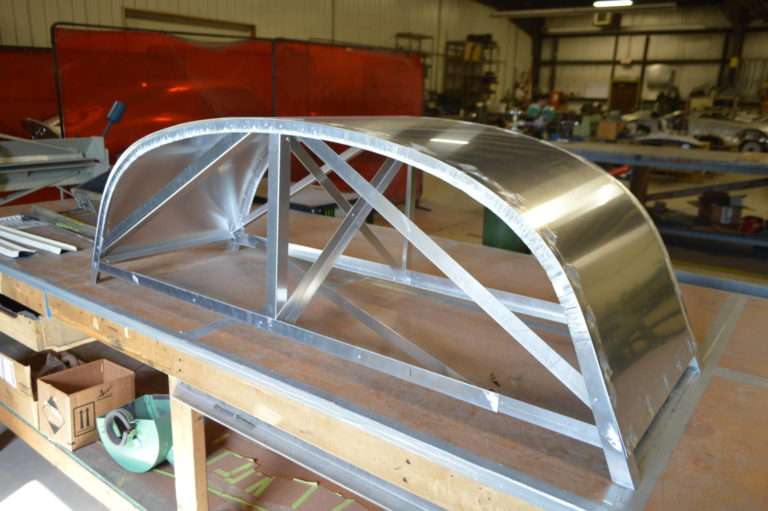
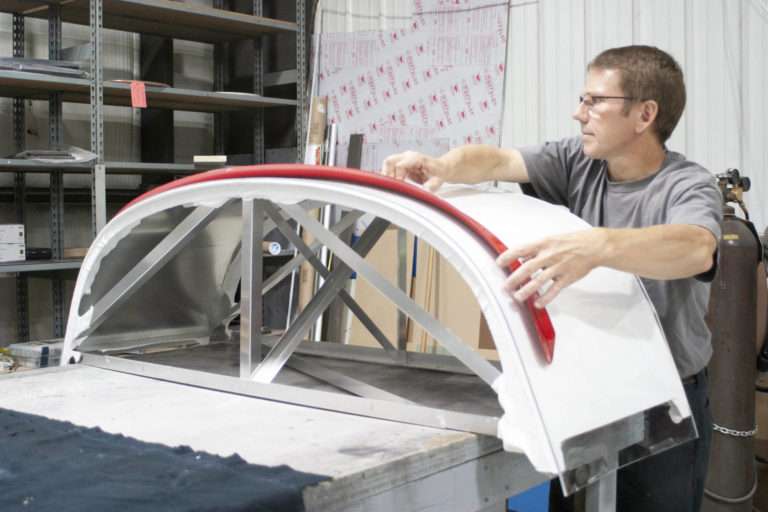
Once the correct windscreen shape was confirmed, Jensen made a station buck or a form for the plexiglass to rest on and take shape of. The buck is made of metal supports. A cloth covering serves as a cushion to prevent possible embedding of foreign particles into the soft plexiglass. After looking over the buck and comparing it with in period photographs, Jensen planned how much plexiglass would be needed to complete the project.
In-House Capabilities
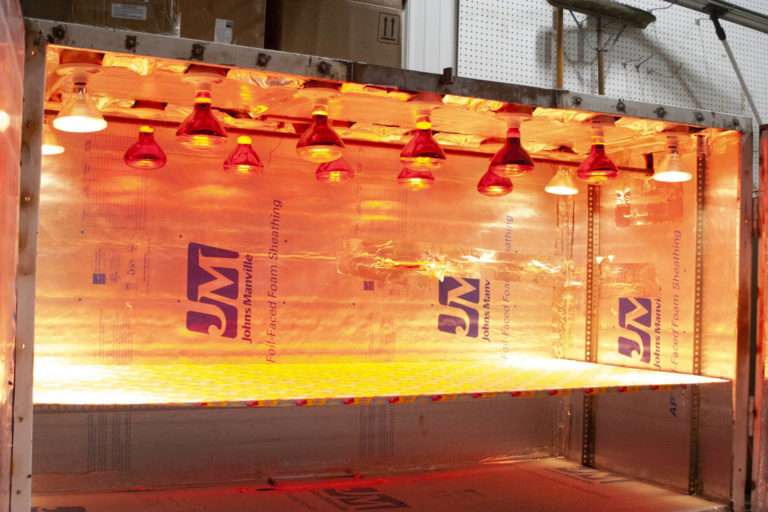
Using our box oven, Jensen then heated up the plexiglass material to roughly 300 degrees fahrenheit. After the plexiglass was soft enough to bend, he and another MPI team member used clamps to get the hot plexiglass out of the oven. Draping the plexiglass over the buck, they clamped the plexiglass to the buck, letting it cool and take shape.
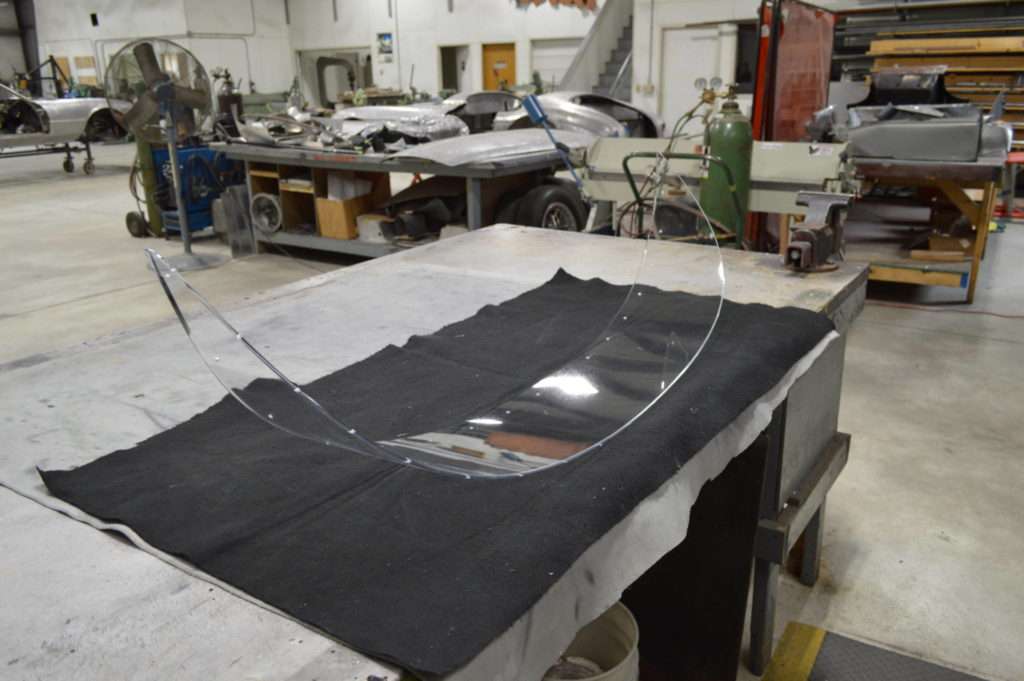
After allowing the windshield to cool, Jensen then started on the details of the piece. “This windshield was different than most I’ve done in the past. The Maserati windshield goes all the way out, almost to the corner where the door meets the front body panel.” Getting the correct rounded edge was important for this project. After using a saw, and grinding the excess plexiglass down, Jensen would continually place the windshield on the body of the car and the front piece over the plexiglass to see the shape and to make sure the windshield fit properly.
Final Fitment
Now that the Maserati is in the assembly stage, and the windshield is cut and ground down to the right size and shape, it’s set aside with a protective mask to keep it scratch-free while the assembly team assembles the car. Once the car is ready for the windshield and trim to be installed, Jensen will do a final inspection of all of the trim pieces. He will do a final light sanding of the windshield and polish leaving it ready for installation for our assembly team.
Leave a Reply